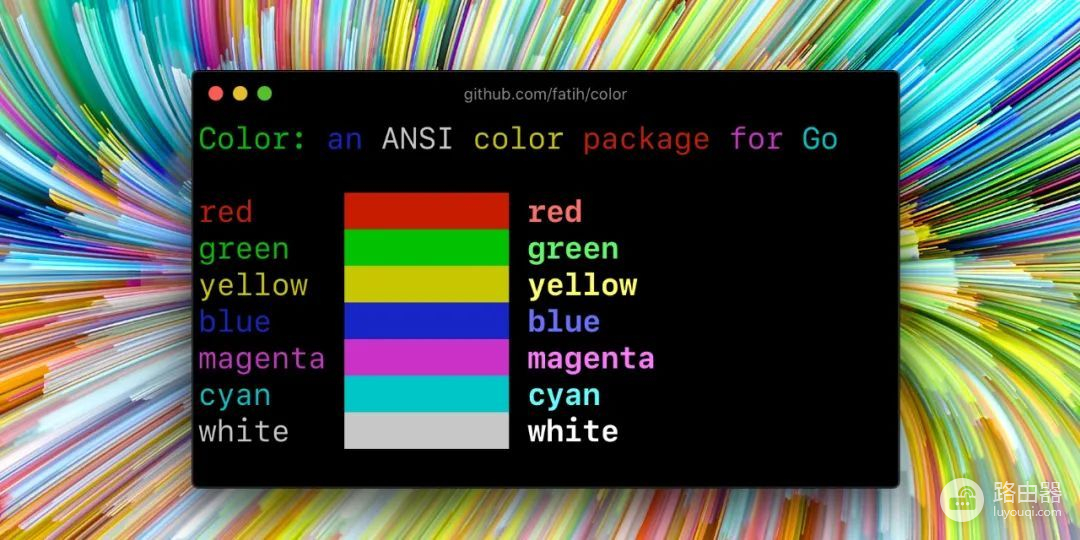
Go中输出彩色字符的实现
在电脑终端输出彩色字体,常用于系统中的命令安装、运行结果提示、错误警告等。作为程序开发人员的我们不仅要知其然,也要知其所以然。
输出彩色字符所需固定格式
想要输出彩色字符,必须具有指定格式。
格式:
标记[字体样式;字体背景色;字体颜色m输出的字符标记[恢复默认颜色m
例如:"\0x1B[0;41;36m这里是需要输出的字符\0x1B[0m"

其中,0x1B是标记 (ASCII码中的第27个字符,0x1B是16进制,也可使用8进制的033),[ 表示开始定义颜色,9表示字体样式,41代表红色背景色,36代表绿色前景字体色,0代表恢复默认颜色,m是个标记符。

ASCII - 27
控制字体显示的3个属性
控制字体显示的属性有3个:
字体样式
字体背景色
字体前景色
在这3个属性中可以省略部分属性,但是从剩余的属性中也会有优先级,根据优先级来显示字符。

9;41;36 带有中划线的红底绿字
41;36 红底绿字 无中划线
36 绿字 无红底 无中划线
由此可知,字体显示属性的优先级:前景字体颜色 > 字体背景色 > 字体样式。
聪明的你可能会问,假设显示字体的3个属性都不设置会显示什么?
可以看出,不设置3个属性的话就是正常显示:黑色背景、白色字体。

字体样式
const (
	Reset Attribute = iota// 0  默认样式
	Bold   // 1 粗体
	Faint  // 2 暗淡
	Italic // 3 意大利体,即:斜体
	Underline // 4 带有下划线
	BlinkSlow // 5
	BlinkRapid // 6
	ReverseVideo // 7 前景色与背景色互换
	Concealed // 8
	CrossedOut // 9 中划线
)
控制字体样式的属性有10个,0为正常样式。
所以,在固定的样式中倒数第二个字符是0,是为了用于恢复整个输出样式。

字体背景色
// 普通背景色
const (
	BgBlack Attribute = iota + 40// 40 黑色
	BgRed // 41  红色
	BgGreen // 42 绿色
	BgYellow // 43 黄色
	BgBlue // 44 蓝色
	BgMagenta // 45 紫色
	BgCyan // 46 青色
	BgWhite // 47 白色
)

// 高亮度的背景色
const (
	BgHiBlack Attribute = iota + 100// 100
	BgHiRed // 101
	BgHiGreen // 102
	BgHiYellow // 103
	BgHiBlue // 104
	BgHiMagenta // 105
	BgHiCyan // 106
	BgHiWhite // 107
)
背景色从亮度维度分为2种类型:普通、高亮。
背景色从颜色维度分为8种类型:黑色、红色、绿色、黄色、蓝色、紫色、青色、白色。
字体前景色
// 普通前景色
const (
	FgBlack Attribute = iota + 30// 30
	FgRed // 31
	FgGreen // 32
	FgYellow // 33
	FgBlue // 34
	FgMagenta // 35
	FgCyan // 36
	FgWhite // 37
)

// 高亮度的前景色
const (
	FgHiBlack Attribute = iota + 90// 90
	FgHiRed // 91
	FgHiGreen
	FgHiYellow
	FgHiBlue
	FgHiMagenta
	FgHiCyan
	FgHiWhite
)
前景色与背景色的分类相似。
使用Golang实现输出带颜色的字符
package main

import"fmt"

func main() {
  Colors()
}

// 打印颜色
func Colors() {
	fmt.Println("")

	for b := 40; b <= 47; b++ { // 背景色彩 = 40-47
		for f := 30; f <= 37; f++ { // 前景色彩 = 30-37
			for d := range []int{0, 1, 2, 3, 4, 5, 6, 7, 8, 9} { // 字体样式
				fmt.Printf(" %c[%d;%d;%dm%s(f=%d,b=%d,d=%d)%c[0m ", 0x1B, d, b, f, "", f, b, d, 0x1B)
			}
			fmt.Println("")
		}
		fmt.Println("")
	}
}

Golang实现输出带颜色字体的第三方库
在go中经常使用第三方库来打印带颜色的字体:github.com/fatih/color。

github.com/fatih/color
具体使用方法详见官方库代码,这里简单地介绍一下其实现原理。
// 使用库的Red方法输出红色颜色字符
color.Red("打印字符")
下面追踪一下源码:
// Red is a convenient helper function to print with red foreground. A
// newline is appended to format by default.
func Red(format string, a ...interface{}) { colorPrint(format, FgRed, a...) }

// 核心代码
func colorPrint(format string, p Attribute, a ...interface{}) {
	c := getCachedColor(p)

	if !strings.HasSuffix(format, "\n") {
		format += "\n"
	}

	iflen(a) == 0 {
		c.Print(format)
	} else {
		c.Printf(format, a...)
	}
}


// Print formats using the default formats for its operands and writes to
// standard output. Spaces are added between operands when neither is a
// string. It returns the number of bytes written and any write error
// encountered. This is the standard fmt.Print() method wrapped with the given
// color.
func (c *Color) Print(a ...interface{}) (n int, err error) {
	c.Set()  // 带颜色字体的固定格式的前半部分
	defer c.unset() // 带颜色字体的固定格式的后半部分

        // 具体要打印的具体字符
	return fmt.Fprint(Output, a...)
}


const escape = "\x1b"

//-----------------------------------
// 固定格式的前半部分
// Set sets the SGR sequence.
func (c *Color) Set() *Color {
	if c.isNoColorSet() {
		return c
	}

	fmt.Fprintf(Output, c.format())
	return c
}

// 格式的前半部分
func (c *Color) format() string {
	return fmt.Sprintf("%s[%sm", escape, c.sequence())
}
//-----------------------------------


//-----------------------------------
// 固定格式的前后部分
func (c *Color) unset() {
	if c.isNoColorSet() {
		return
	}

	Unset()
}


// 格式的后半部分
// Unset resets all escape attributes and clears the output. Usually should
// be called after Set().
func Unset() {
	if NoColor {
		return
	}

	fmt.Fprintf(Output, "%s[%dm", escape, Reset)
}
//-----------------------------------
总结
从文中可知,关于打印出彩色字符需要掌握以下知识点:
输出彩色字符的固定格式
控制字体显示的3个属性值以及优先级
字体显示属性的各种具体值以及其含义
到此为止,想必你已经对如何使用程序输出彩色字体很了解了,快去试试吧~


